Finally! One of the last construction projects I have before first flight is to install the canopies! The bubbles have been sitting around in the hangar, in a storage unit, and in the attic waiting for this day...so, lets get started!
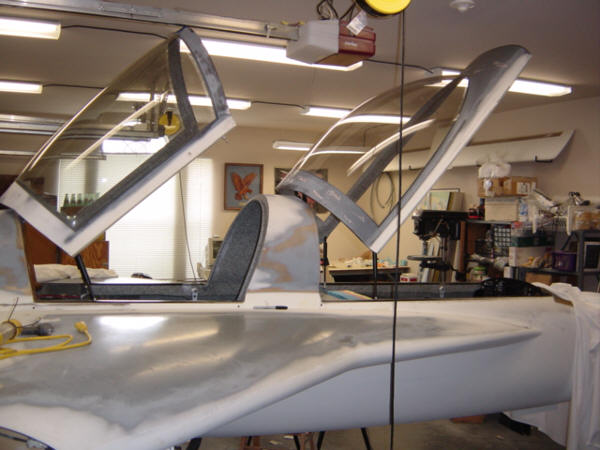
I started out by doing some initial trimming and trial fits to make sure everything was going to workout. Initially, I put some masking tape around the edges of the rear canopy, did a quick trial fit into the frame, and put it on the fuselage to take a look. It looked great, so I did the same thing with the front canopy. Ahhhh...I'm going to like this!
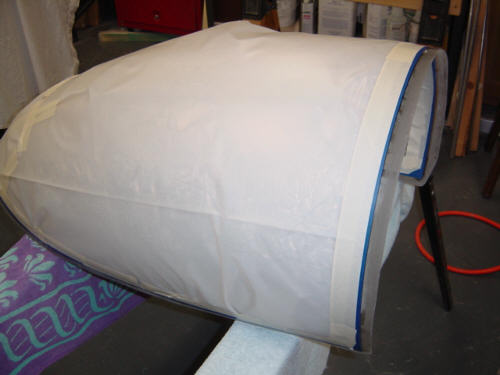
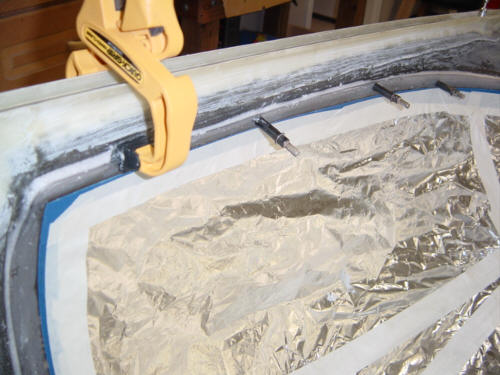
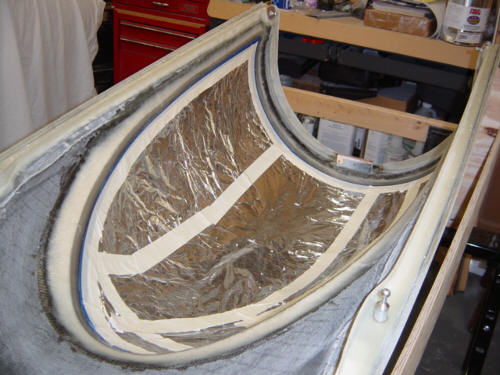
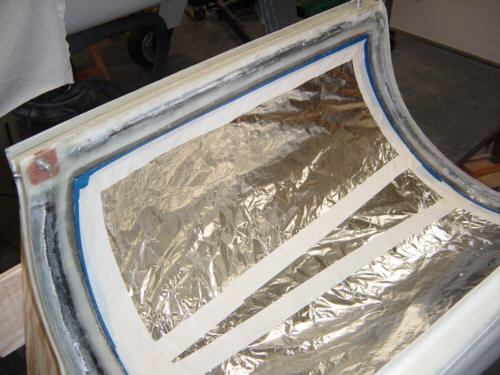
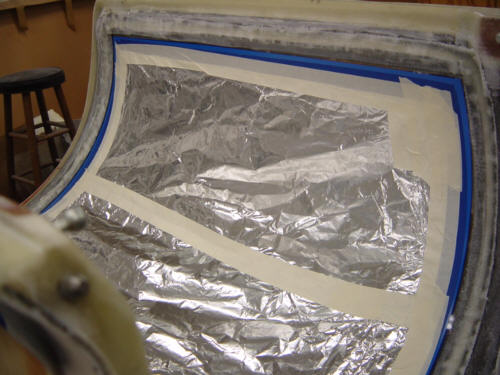
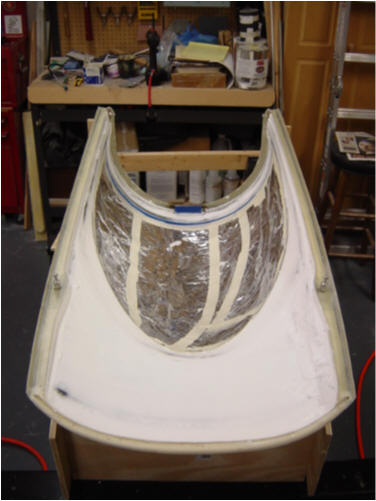
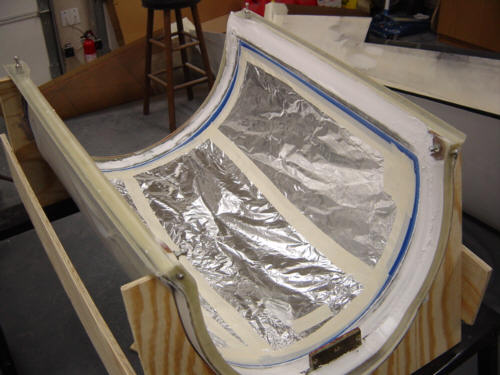
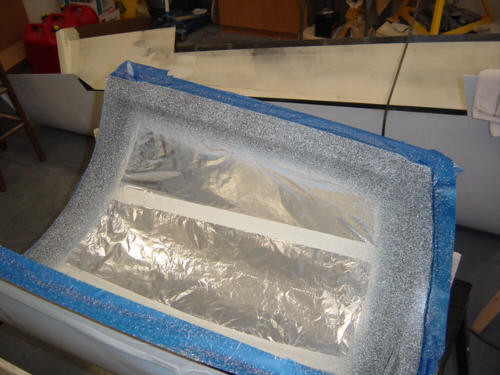
Now the serious installation starts by really getting a good fit in the canopy frame by accurately trimming away the unused portions of the Plexiglas and coming up with the final shape. Now, as soon as possible, it is recommended to cover the inside and outside of the Plexiglas with something to protect it. I used plastic sheeting for the outside, and aluminum foil for the inside (mainly just for drip protection).
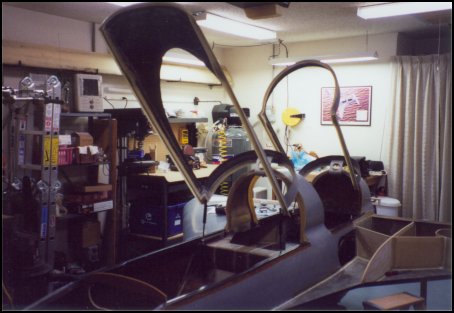
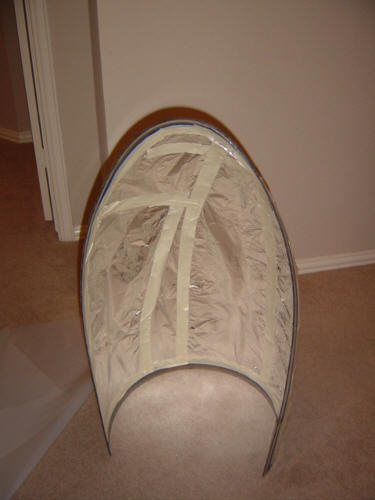
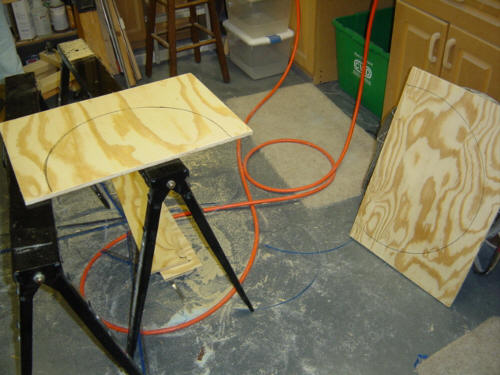
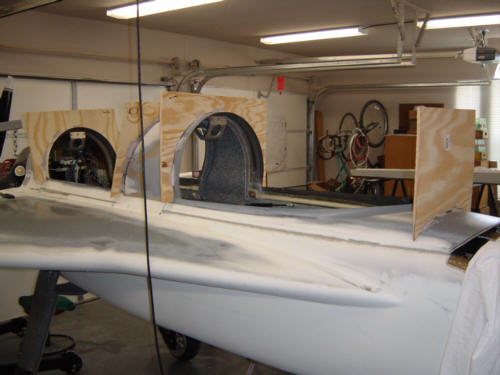
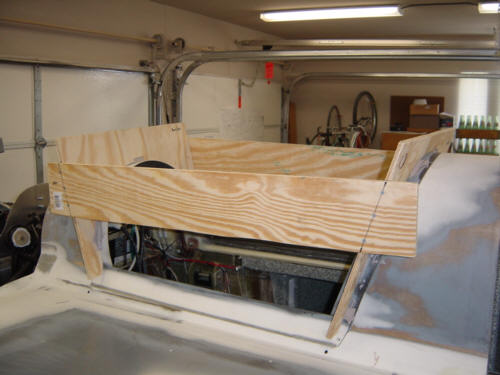
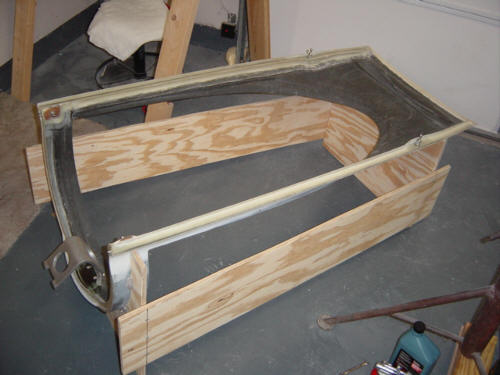
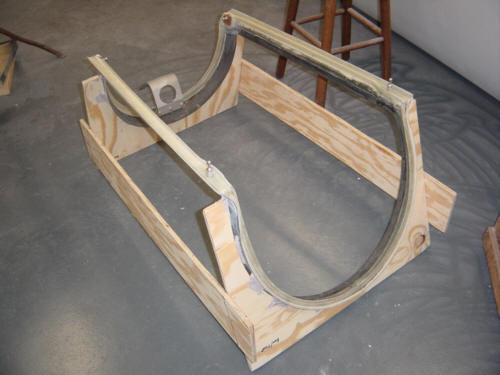
Before bonding in the bubbles, it is important to make sure that the canopy frame is the same shape on the plane, and off the plane (where the work is being done) - and a jig must be created to do this. First, I put the canopy frames back on the plane and latched them down. Then, I cut out four canopy bow jigs. To get a good fit, these jigs are bonded to the canopy frames using Bondo. Then a couple of side rails are attached to immobilize the fore and aft jigs. Now the canopies can be removed from the fuselage without changing shape. Here is what the look like all jigged up: front, rear.
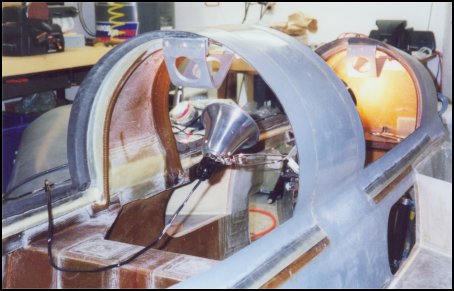
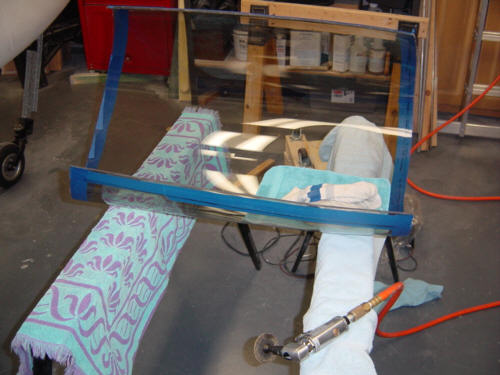
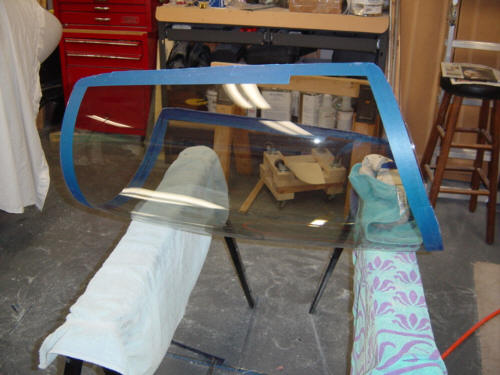
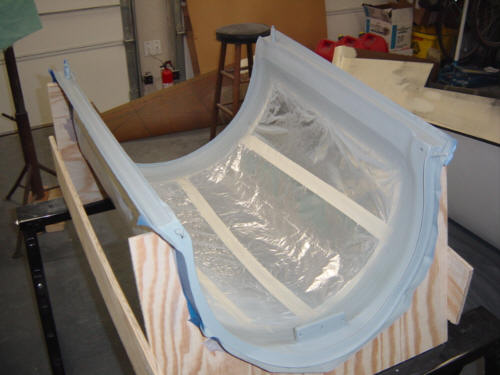
I sanded, beveled and tapered all the edges of the canopy glass in preparation for bonding. I sanded the inside of the canopy frames, mixed up a bunch of medium flox, applied to the edges of the canopy frame and clamped the canopy glass into position. I let this flox semi-cure with all the clamps and clecos in place. Once semi cured, I removed the clamps, added a little more flox to smooth out the transitions and put down 2-ply BID tapes all the way around the canopy frame. I did the same process with the rear canopy as well.
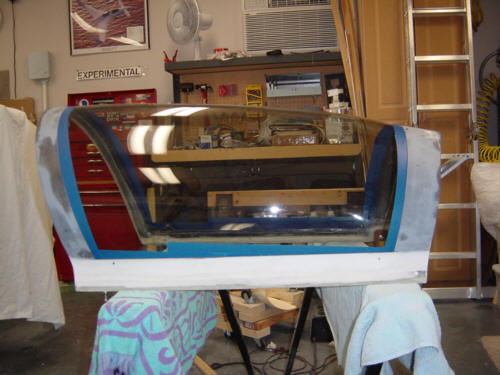
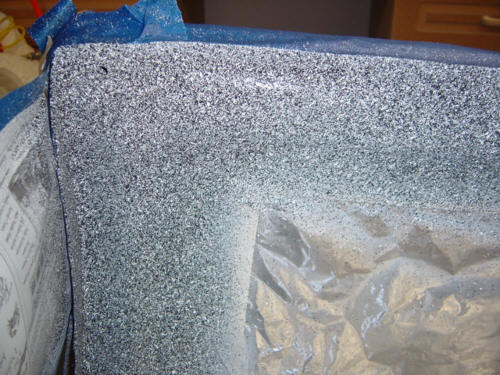
Next up - cosmetics. I'll have to micro fill and sand the frames and glass transitions just like I did on the interior. So, I setup some Fine-line painting tape on the glass with a 1/4" gap all the way around. This is to allow some micro to fill the transition between the BID tapes and the Plexiglas. Then I gooped up the front and rear canopy frames with dry micro. Once they are sanded out, I shot primer on them just like the interior.
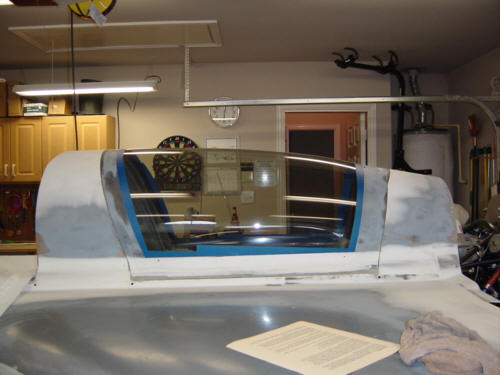
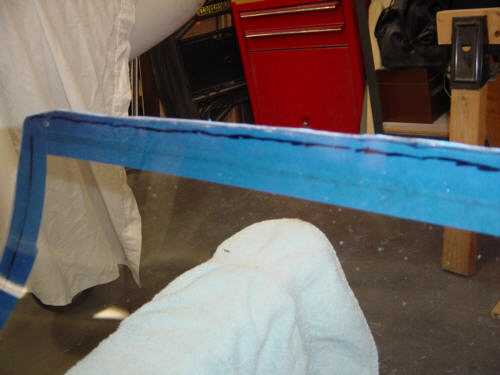
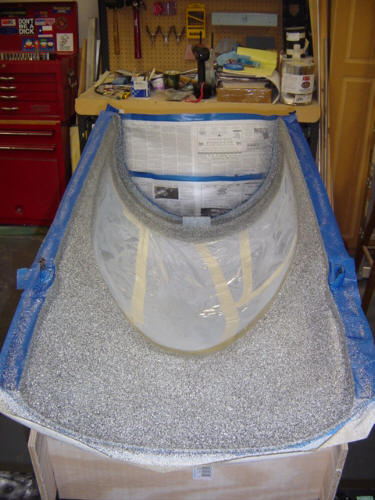
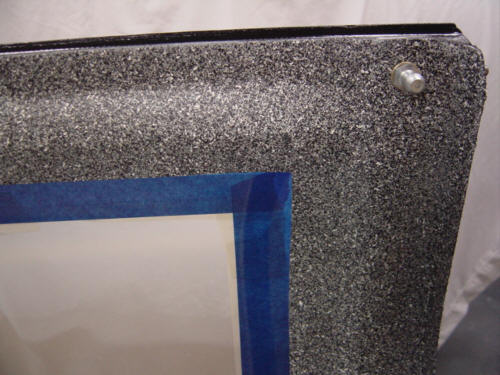
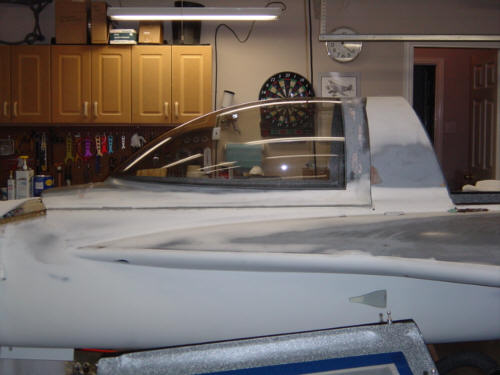
Shooting the Zolatone was exactly the same as the interior. I taped off what I didn't want painted and put additional paper up to block the over spray and put down a nice coat of Zolatone on the front and rear canopy. Remember, this time the paint now laps another 1/8" onto the plexi and makes a smooth transition from the frame. Here is a close up of that transition, note that the blue tape is on the other side of the plexi. While this was drying, I took the opportunity to primer and paint the hinges semi-gloss black too.
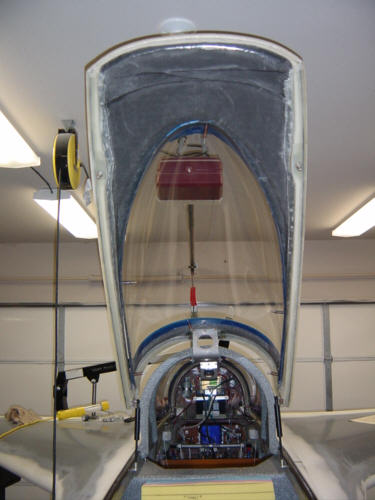
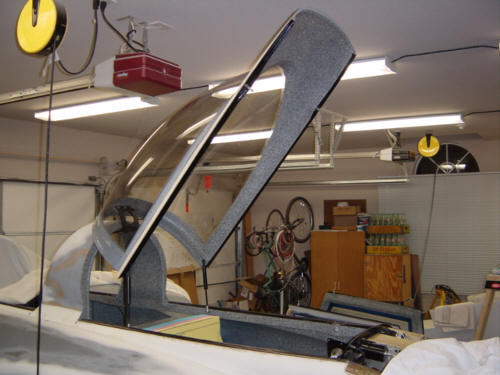
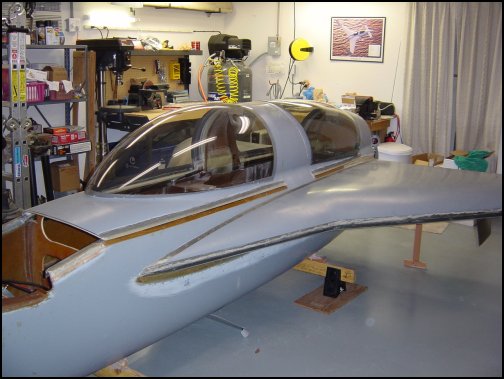
UPDATE 5-13-04: Whoo-hoo! The canopy bubbles are installed, and the interior paint is complete...and they look GREAT! To finish them up, I shot some black paint on the canopy rail bottoms, reattached the hinges, and put them back on the plane! Here are a few shots of the front canopy in open position and in closed position. Best part is - they fit exactly like they did before the bubbles were added...I guess the jigs did their job!
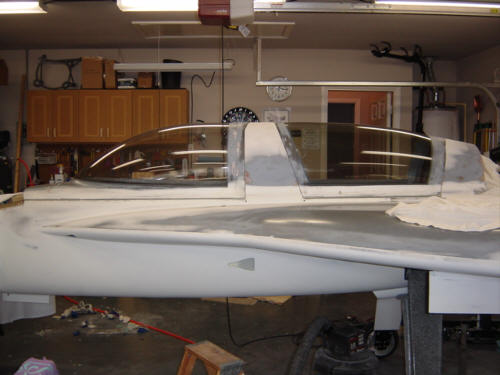
UPDATE 5-16-04: OK, the paint is dry and BOTH canopies are now installed! I did make a little addition to the rear canopy. I installed a couple of knobs on the rear canopy frame so that it was easier to pull the canopy down, and more importantly it was easier to push UP. Originally, there was really nothing to push up on...so, now there is. Sandy was happy to try the rear seat out...and liked it too! Good thing, since we will be spending alot of time in this contraption. A funny thing soon happened after this picture was taken. Sandy asked me to get in too, so she could see what the view was going to look like. Apparently, Radar didn't want to be left out of the fun so he insisted to take HIS place in the cockpit too. Really...he stood there for quite some time until finally crawling up in Sandy's lap and took a nap. I think this may be shades of things to come. Hey! at least now my Berkut is "Radar equipped". :-)
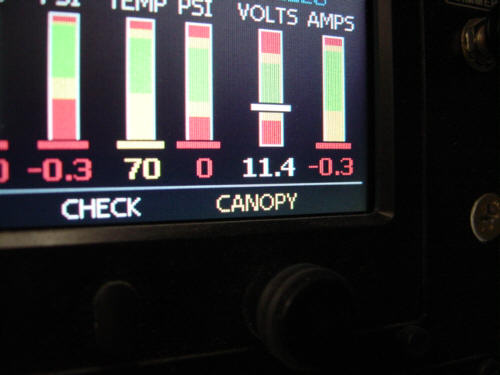
UPDATE 8-2-04: Well...this is not much of an update...it's been installed for months, I'm just now taking a picture of it. The ACS2002 engine monitor and warning system is wired up to the canopy switches. It will warn me with a text message and an auditory tone & message if either canopy is open and the RPM gets above 2000. Neat-o!!
Previous Steps:
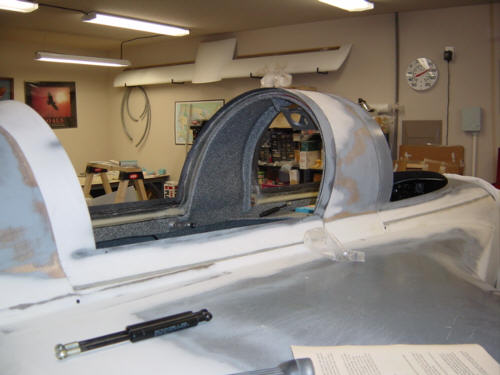
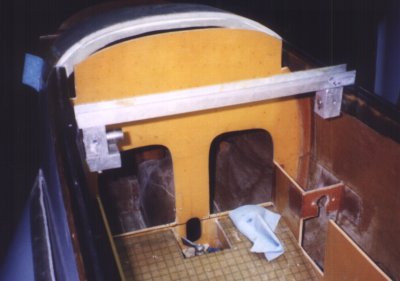
Finally, the canopy frames are complete with latches, hinges, drip rails, and gas struts (just no Lexan bubbles yet). The drip rails have been covered in the Longeron section so we will move on with the others below.
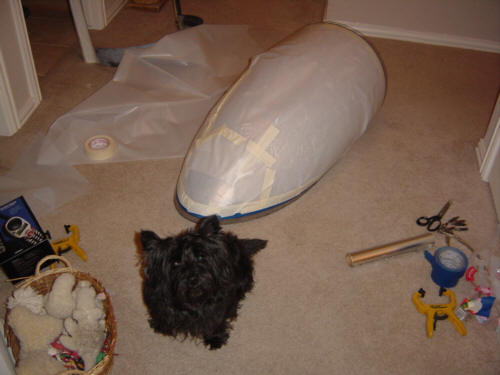
Also, the canopy bubbles from Todd Silver came in and I had to take a few pictures. Just look at those light grey beauties! They are optically perfect...I don't know how he does it but I HIGHLY recommend Todd's work! Enjoy!
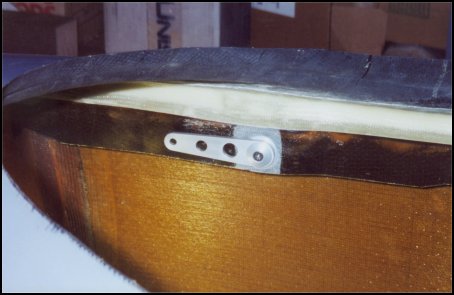
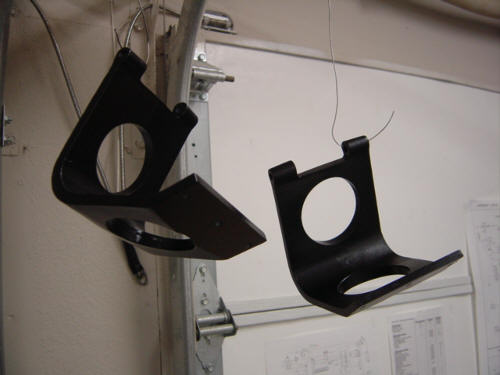
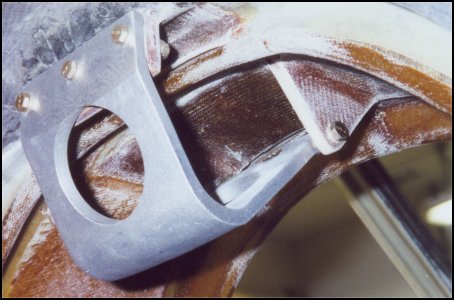
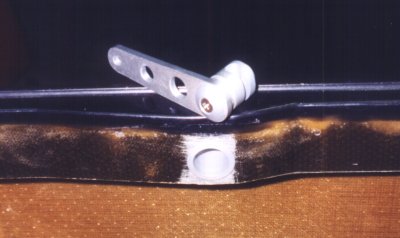
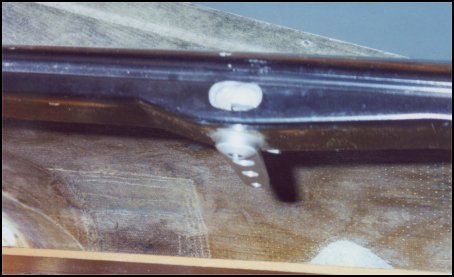
With the driprails complete, it is time for the hinges. They are solid cast aluminum and rather heavy...strong, but heavy. So, I cut some weight relief holes in them and litened them up quite a bit without sacraficing any needed stiffness. They are attached to the center rollover structure and rear turtle-deck by 1/4 inch phenolic tabs and 4plys of BID on each side. The canopy frames, as you may remember, have phenolic tabs built into them that the hinges also attach to. 3/8 inch bushings are also used in the phonolic tabs to increase the bearing area to help keep the canopy's lateral movement to a minimum.
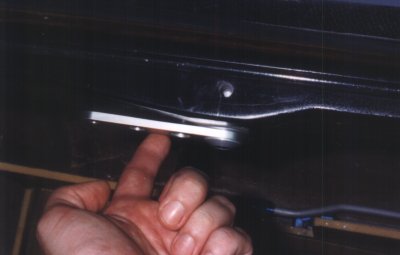
One of the first...and last...things I did while the plane was up at the Addison airport was to install the canopy latches. These nifty little gizmo's are right off a Indy car. You see, they come from Glen Waters who was a Indy car designer/builder before building his own Berkut. I'm told that just ONE of these latches holds the entire front body on an Indy race car - the Berkut has four! It is a simple Ball/Cam/Barrel design and is highly effective and simple. It will even prevent the canopy from closing fully until the cam is properly seated in the latch. This will prevent accidental canopy detachment in flight - as the pilot will have a 1" gap around the canopy until properly latched.
Installation is rather simple - first you drill a couple of holes for the barrel of the latch into the longeron. Once the large holes are in place, the smaller vertical holes must be drilled for the ball on the canopy to pass through. This requires the use of a jig to make sure the access holes are vertical and in line with the canopy. The jig fits snugly into the barrel holes and provides a guide to drill through from underneath the longeron. Once drilled, a metal sleeve is inserted into the barrel hole and the latch mechanism can be put into place.
The canopy hinges must be installed before additional fairing can be made to the upper holes but we'll skip ahead. The initial small hole is opened up in the shape of a funnel to allow the latch pins in the canopy to sweep down into the latch.
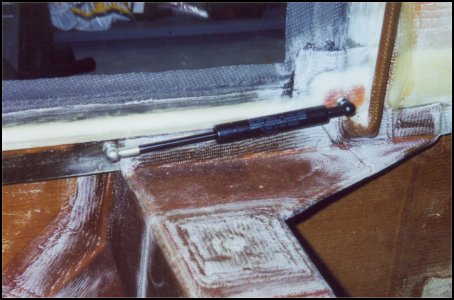
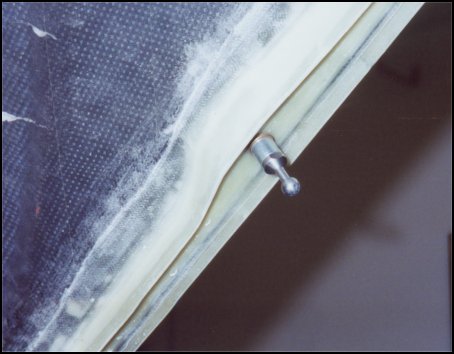
Not too much to say about this one. I added a phenolic block to the aft corners of the canopy frames, drilled and tapped it and installed a ball-stud. There is another ball-stud that is tapped into another phonolic block in the longeron. The strut just clips on and is installed under a slight pressure to help assure a complete canopy seal. Once the canopy is opened about 12 inches, the gas struts take over from there and raise the canopy slowly.
 Back to the Proto-page