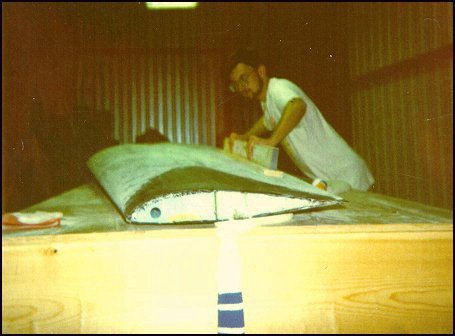
Ah, the memories. This is, by far, the worst (it's not really that bad) part of building so far. As with all composite aircraft, the surfaces are rough and need to be filled in and sanded smooth to a final surface suitable for painting. This is a very uncomplicated process involving smearing a mix of "micro"-scopic balloons of glass and epoxy onto the surfaces. Then, using a long flat sanding bar, the micro is removed slowly to perfect the surface. This process is repeated several times with finer and finer sandpaper until the surface is ready for primer and paint.
Basically, the more anal you are about the sanding...the nicer your paint job will look and the more efficient your plane will be. I have put more than 3 coats per side and it still needs more work, but I AM a bit more anal than most. I plan to make the air-show circuit with this plane and the wings are the most looked at (and hopfully admired) part of it! More on that later...
The black areas on the wing tips are reserved and are not covered with dry-micro at this point. They are the external bonding points for the winglets. Micro is NOT structural and should never be used inbetween laminate layers.
 Back to the Proto-page