
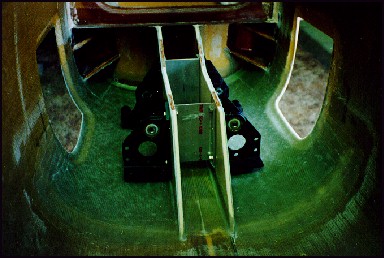
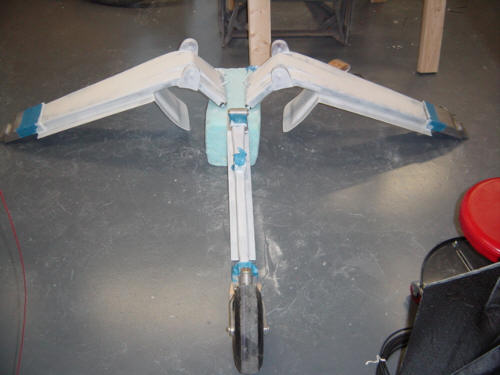
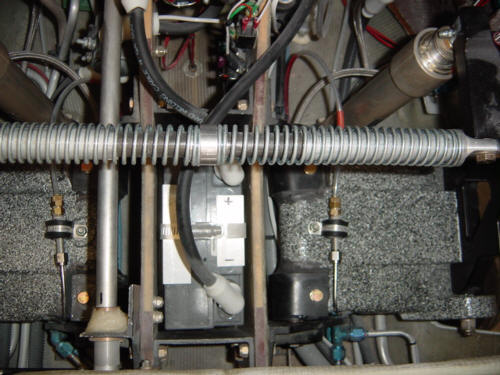
Finally, the main gear are attached to the main fuselage and my baby can now stand up on her own. (ok...that was kinda thick, but you see what your reaction is!) Seriously, this is another major step in the building process. Pictured above are the MG-30 stringers complete with aluminum spacers inbetween. The pivot bearings are held in the black trunions (on the sides) where the gear legs attach. The upper retract arms attach from the gear leg tabs to the retract tabs on the fuselage. The hyd. cyls. and hoses will be attached at a later date.
The assembly process begins with the gear assembly being positioned and centered against the firewall, under the main spar. The ends of the gear legs are triagulated against the center point of the instrument pannel. This process assures that the alignment is centered so the plane will track correctly during takeoff and landing.
The second step is to attach the MG-30's to the floor of the fuselage. This is a massive 8-ply lay-up and covers most of the aft interior floor. Remember that the glass is basically good for 2,000 lbs. per square inch, per ply in shear strength. Needless to say, these stringers are not going anywhere. Flox pads and bolts will be added under the trunions to further attach the assembly to the floor.
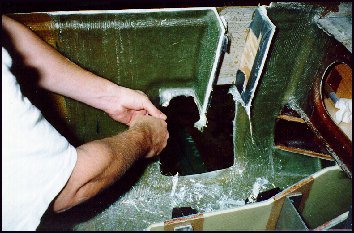
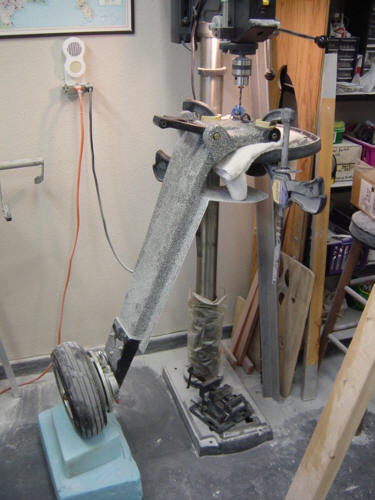
The last steps include constructing the upper retract tabs. First, ply-wood molds are glued to the fuselage sides. These are covered with duct tape as a release and are used to shape the tabs (as shown in the picture). The outside plys are 14 layers thick and taper down onto the lower plys. After the ply-wood is removed, 11 plys of glass is layed-up inbetween the two existing tabs. Once all this cures, the excess is trimmed off and shaped to mate with the longerons, holes are drilled and bushings are installed. The final product looks like the above picture.
Main gear struts (old), axels, brakes, hubs and tires installed.
Baby's first steps around the hangar. (uh, sorry...again.)
UPDATE: The main gear struts installed with the new Talons installed.
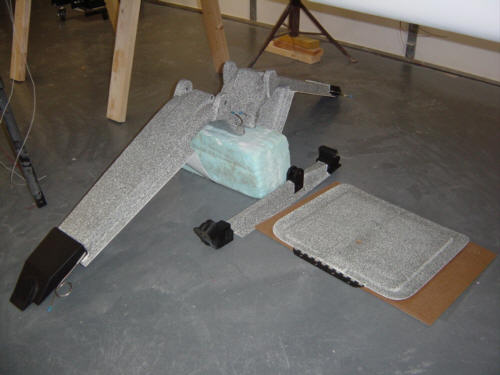
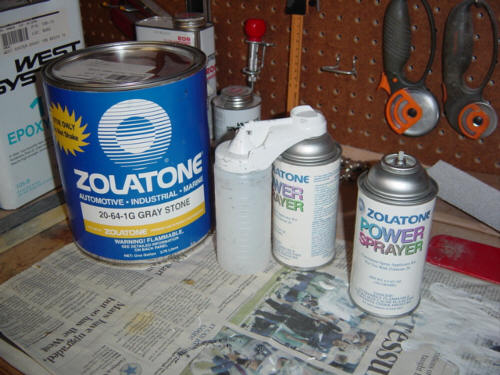
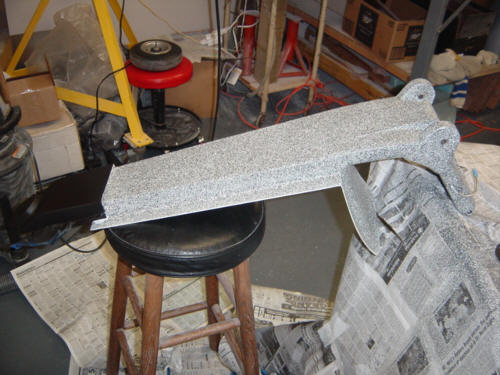
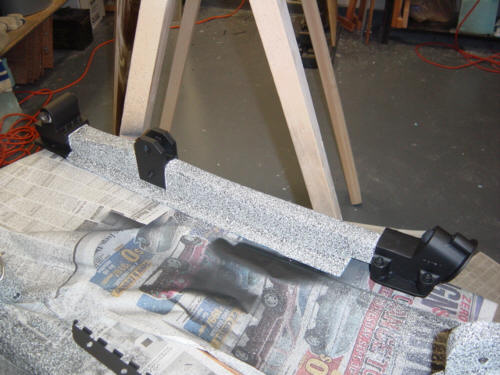
It's been awhile since I've really done anything with the gear legs...and now they are finished, literally...with primer and paint. It took me quite some time to decide what I was going to do with them - paint like the aircraft exterior, interior, or something off the wall. After speaking with several folks about the durability of Zolatone with proper clear top coat, I went ahead with my original plan. Several of the Velocity RG builders have done this same things and all say the top coating is a must since the surface is exposed to the elements quite a bit. Incidentally, I will be painting the interior of the fuselage with this same color of Zolatone - "Gray Stone". I think it really turned out great!
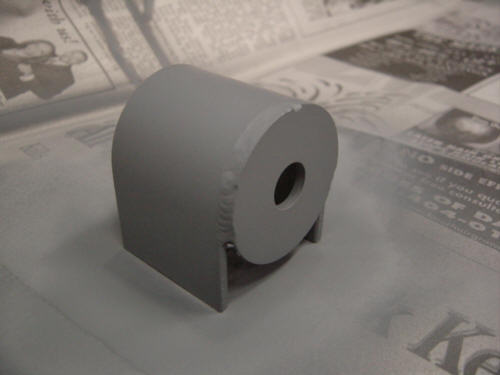
The first step was to micro fill, and primer the gear legs - just like the wings, fuselage etc. This proved to be a royal pain in the butt as there were multiple curves, crevasses, angles, etc. to deal with - but I managed. Next was the easy part - tape and paper prep for painting, and spray. Instead of using an expensive and complex "pressure-pot HVLP spray gun", I simply used the $15 Zolatone zip-gun. It worked perfectly and I was able to spray all the parts and barely used one can of propellant. It was, however, good that I had a second can available as they got too cold from long spray usage and started to freeze up. I just swapped them out as one got too cold - no problem.
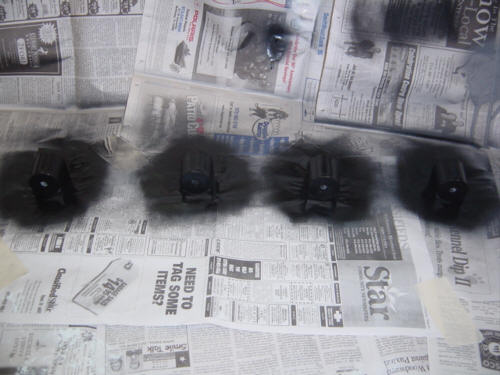
After covering the actual legs, I then primered and painted the metal attach points and talons on the main gear and the nose gear with semi-flat black paint. I think the combination turned out great - and actually looks even better than I expected.
I am still waiting on the clear, matte finish, Jet-Glo top coat to come in before I mount them back on the plane. Once back on the plane...it won’t be long before they're moving under they own power - up and down! Check back soon!
Sneak Peak: Here is a short QuickTime video of what the landing gear will look like in operation: berkutgear.mov (343kb)
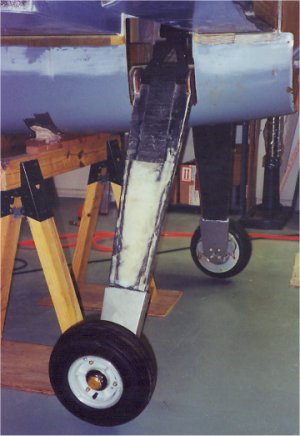
I guess one of the good parts of building this plane for over 11 years is that I am able to include all the modifications and improvements discovered over the years....and I have them all. This one is no exception. Years ago, before the Berkut gear went to metal castings at the top, Dave discovered that after several hard landings the gear became "softer". One day, he heard a "pop" on landing, but all looked OK. On the next flight, one gear leg would not go back into the well, so he landed and took another look. The ends of the threaded gear attach points had de-laminated and the gear was several degrees off of center at the pivot bushings. Not easy but repairable, Dave didn't want this to happen again - so he came up with this retrofit for the old style gear legs. We know they work, too. Several years later, a Berkut that had the retrofit completed landed hard enough to separate both gear legs from the aircraft. Yep, you guessed it - the threaded pivot inserts and cover plates were unscathed and still attached to the severed leg! Now, I sure hope I never experience THAT, but good to know these things are worth the extra work. So, lets get to it...
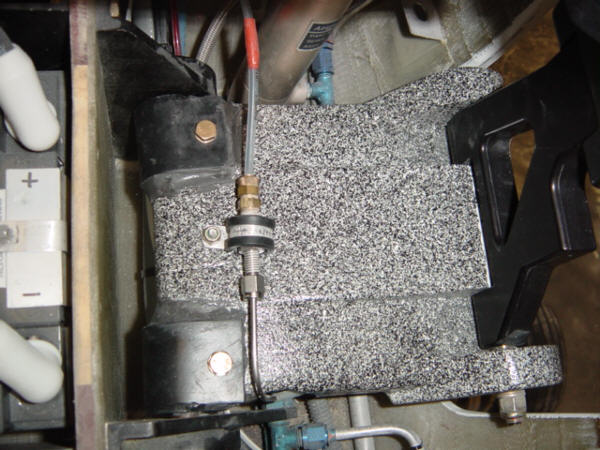
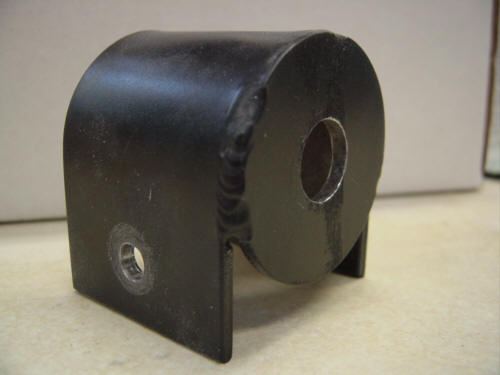
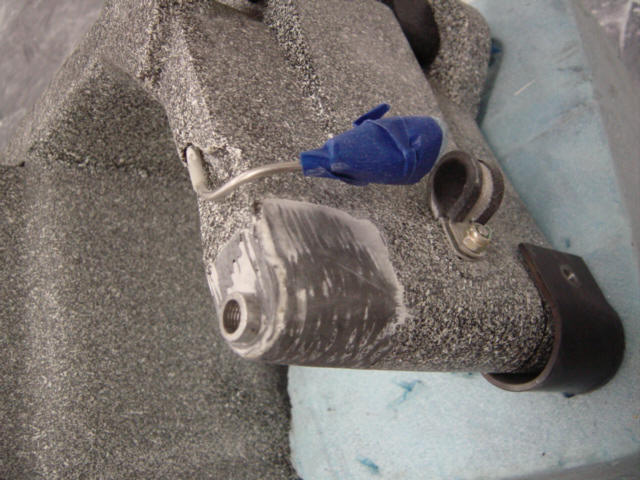
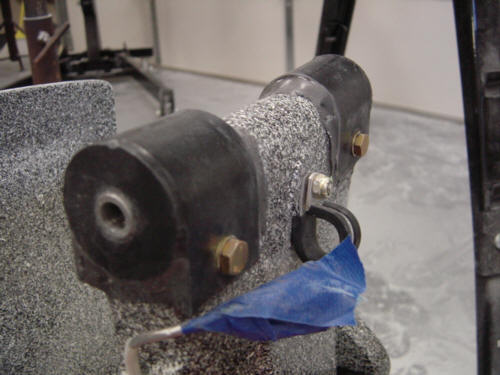
The plates consist of a 1/8" thick moly steel washer (use for engine mounts) with a 'U' shaped piece of 2" wide 1/8" thick moly steel plate welded to it. It's bead blasted and primered on the outside to prevent rust. I also painted mine to help with the aesthetics a little. The hole in the washer is opened to 9/16" and a 1/4" pilot hole is drilled on the top side of the plate - now the plates are ready to be installed. After disconnecting the freshly bled brake lines (sigh) and removing gear legs, the paint, filler and carbon fiber is ground away exposing the end of the threaded insert. The plate is slipped over the end of the bushing and prepared for bonding. The "pookie" of choice for this job is good old JBWeld. It's very strong, and sticks very will to metal...much better than West and flox. So, after gooping it all up and squishing it onto the gear leg, the plates are bonded in place. Once this stuff sets up, it's as hard as metal...those attach points are NOT moving ANYWHERE now!
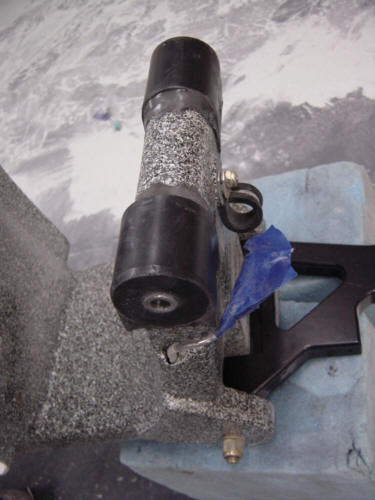
Now that the JBWeld is cured, I was able to drill the 1/4" holes all the way through. After installing the AN4-22A bolts, washers and lock nuts, the gear legs were ready to be re-installed in the gear well. As you can see from the picture above, the retrofits are a little crude by comparison, but as long as they work - I don't care.
 Back to the Proto-page