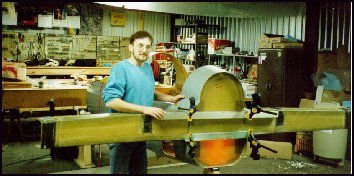
After the main spar internal bulkheads and close-outs are completed and the hardpoints are installed, it is time to attach the assembly to the fuselage firewall. As you can immagine, the alignment of the spar is critical to the alignment of the main wings. Precision here is paramount. So, in true Berkut fassion, the simplest method wins - install the lower cowl. (The lower cowl?...what's up with that?) Very simple, the lower engine cowl is molded too. Made of 100% carbon fiber, it is stiff enough to not loose it's shape, even without the upper cowl attached. Once the lower cowl is cleco'ed in place and leveled...the forward edges are used to position the lower surface of the spar. How simple can you get?
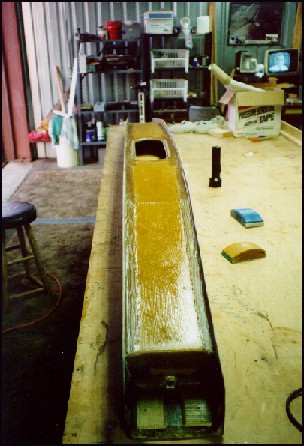
Once the position is established, you cut rectangular holes in the fuselage sides just in front of the firewall. Insert the spar in from one side and slide it through. Once in place, a water level is used to level the spar, then it is triangulated off the ceter point of the instrument panel bulkhead. The firewall has other reference marks to use and cross check with - not to mention it sets-up the primary alignment of the spar.
The spar is attached to the firewall with wet flox and is seen in the picture being squeezed into place. Inside the fuselage, 4-ply bid tapes are added to the top, bottom and sides of the spar/firewall area. Once that all cures, it's time to attach the wings!
 Back to the Proto-page